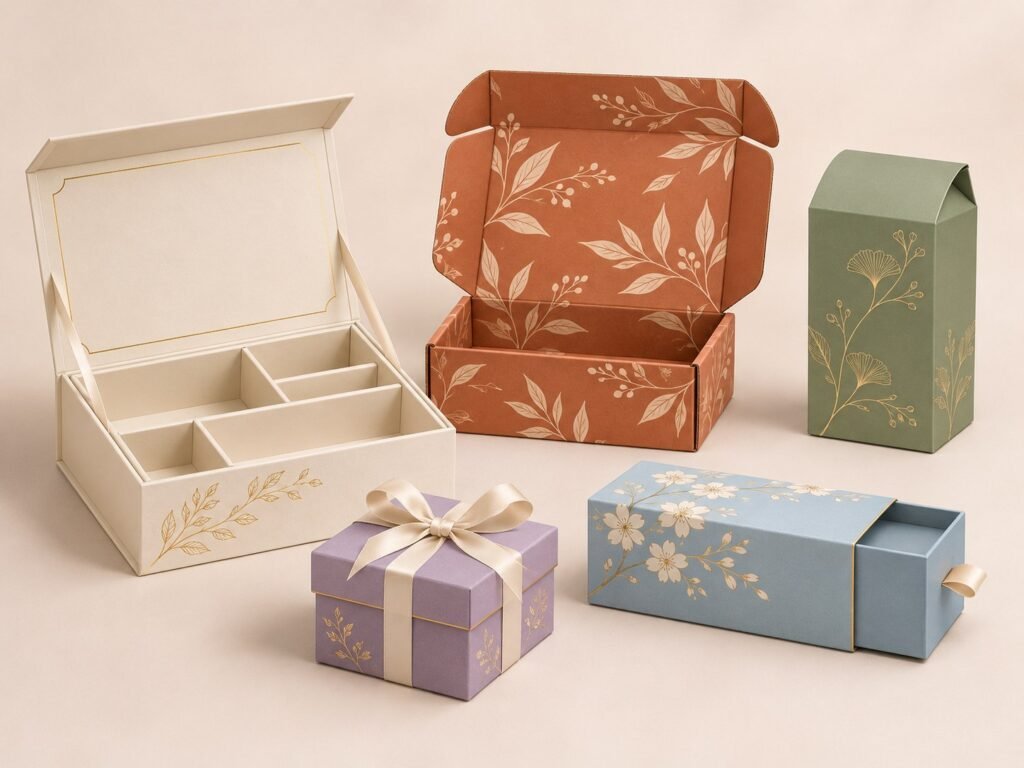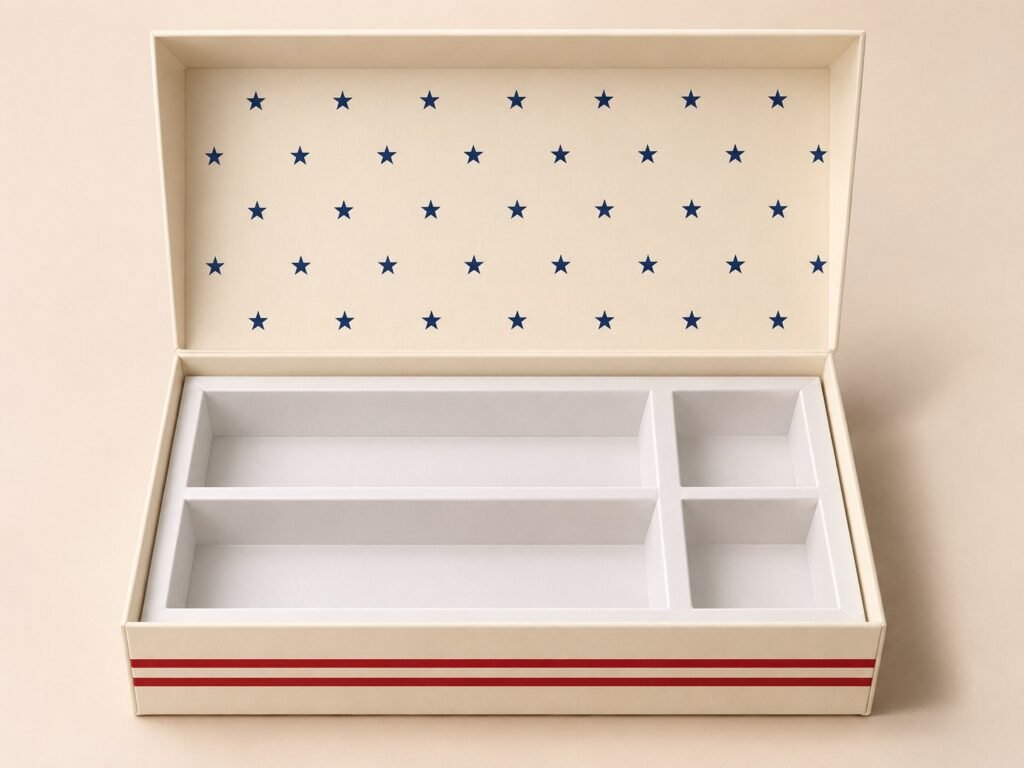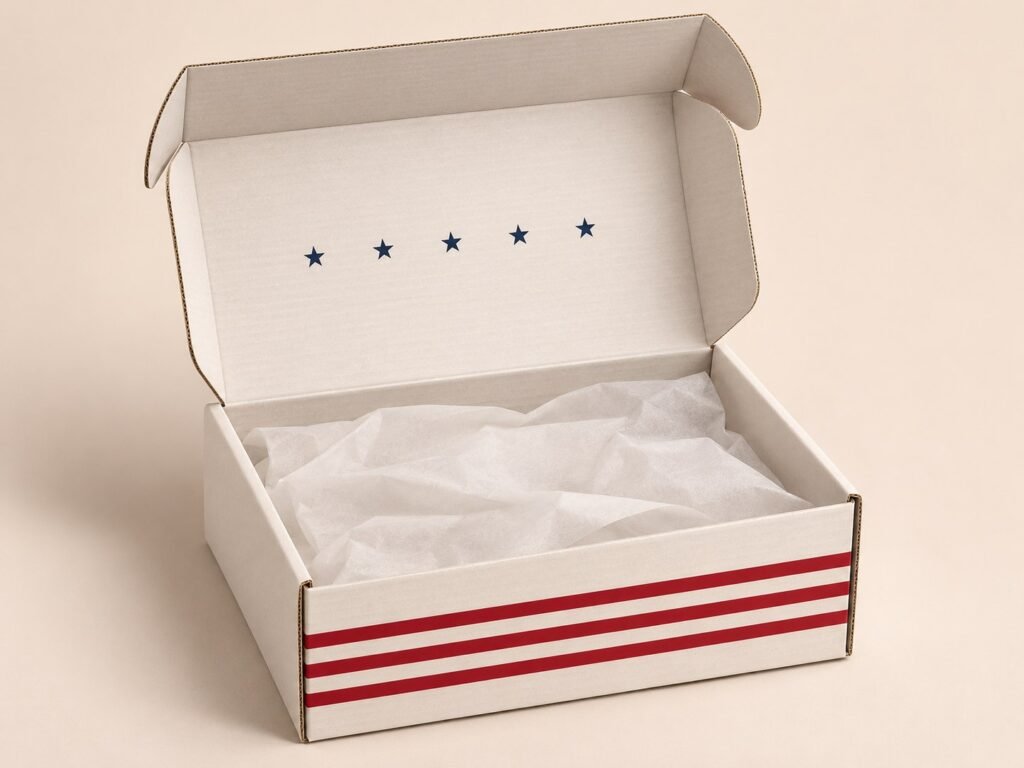
Illustrative packaging concept. Final structure and fit depend on the product.
In brief
Measure the packed item at its widest points, record the orientation and units, then ask for a box with suitable internal space. Have the supplier confirm allowances and fit.
What you will learn
- Record length, width and height consistently.
- Account for wrapping, accessories and inserts.
- Check the proposed dimensions before approval.
Measure the item as it will be packed
Include caps, handles, protective wrapping and any attached accessories. Use a ruler or suitable measuring tool and record the maximum extent in each direction. For an irregular shape, note protrusions and provide photographs with measurements.
Record weight as well as size. Dimensions alone do not tell a supplier how much support the structure must provide.
State the orientation and units
Write dimensions as length × width × height and label the directions on a sketch. Use one unit system consistently. If the product must stand upright, make that requirement explicit rather than assuming the supplier will infer it.
A product measured at 150 × 80 × 40 mm does not automatically need a box with those internal dimensions. Wrapping, loading access and structural features still require consideration.
Separate internal and external dimensions
Internal dimensions describe the usable space inside the finished box. External dimensions include the structure around it. A dieline panel dimension is another measurement and should not be treated as a guaranteed usable space.
Ask the supplier to identify the measurement basis on the quotation and drawing. This is particularly important when replacing an existing box.
Allow for the complete arrangement
For a set, position all items as intended and measure the arrangement. Record the individual items too. Dividers, supports and wrapping occupy space, and a product needs a practical way to be inserted and removed.
Do not apply an arbitrary clearance to every job. The allowance depends on the contents, material and packing method. A flexible pouch and a fragile glass item need different assessment.
Confirm fit with a sample
Check the actual product in the proposed structure before approving production. Assess closure, movement, removal and repeatable packing. If a product dimension changes later, revisit the box and insert fit.
Key takeaways
- Measure the complete packed item and state the units.
- Label the orientation on a sketch.
- Have allowances and usable internal space confirmed with a sample.
Frequently asked questions
Is there a standard gap to add around every product?
No single clearance suits all contents. Material, wrapping, loading and removal requirements affect the allowance. Ask for a fit recommendation for your particular pack.
Sources & further reading
About Alex Smith
about the author Use a real author or organisation. Blank uses the website brand. Blank selects other published guides, prioritising shared categories.